
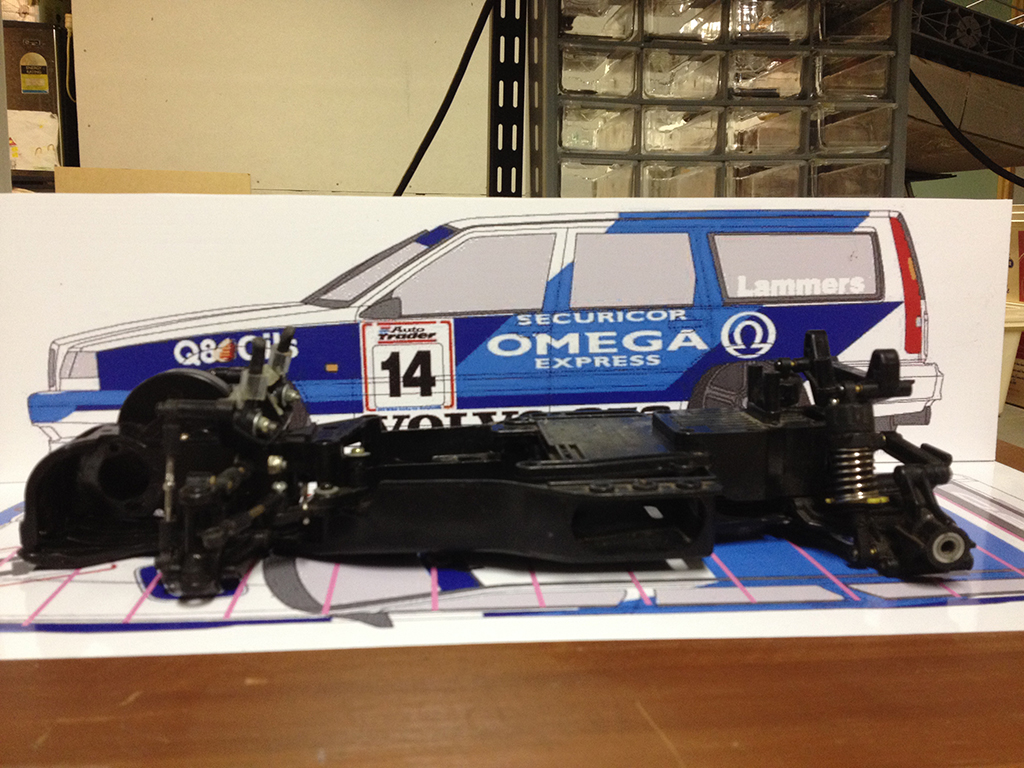
 I’ve always been keen to build my own rc car body. For my first attempt I’ve decided to do a 1/10th scale Volvo 850 BTCC Estate as raced in 1995. I’ve going to use a Tamiya FF01 chassis, basically the one Tamiya uses for its Volvo sedan 850 version. Although I am tempted to make some additions to the chassis if I can get the body finished.
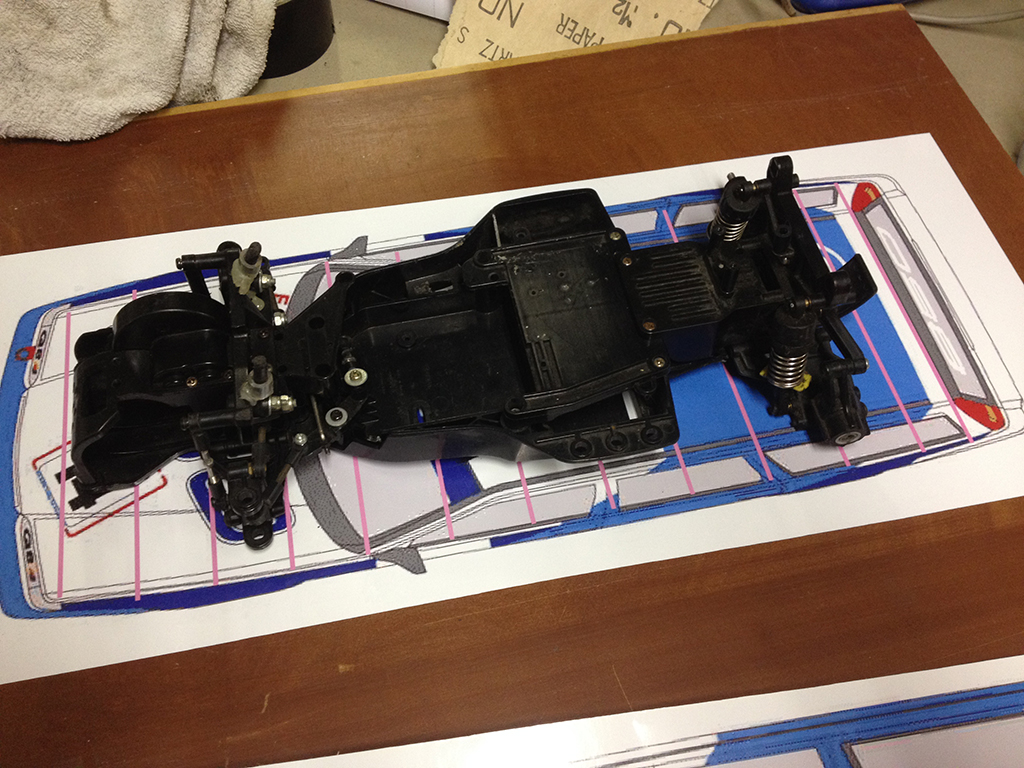
So initially I had to work out how big to make the car. Obviously 1/10th scale is a pretty good clue, but just to be sure its going to match up the FF01 sizing I printed scale stickers and overlaid the chassis.
Once I was happy with the sizing I needed, I then had to work out how I wanted to make the body. As I intended to drive this car, I thought polycarb is probably the best choice. That means making a pretty decent positive.
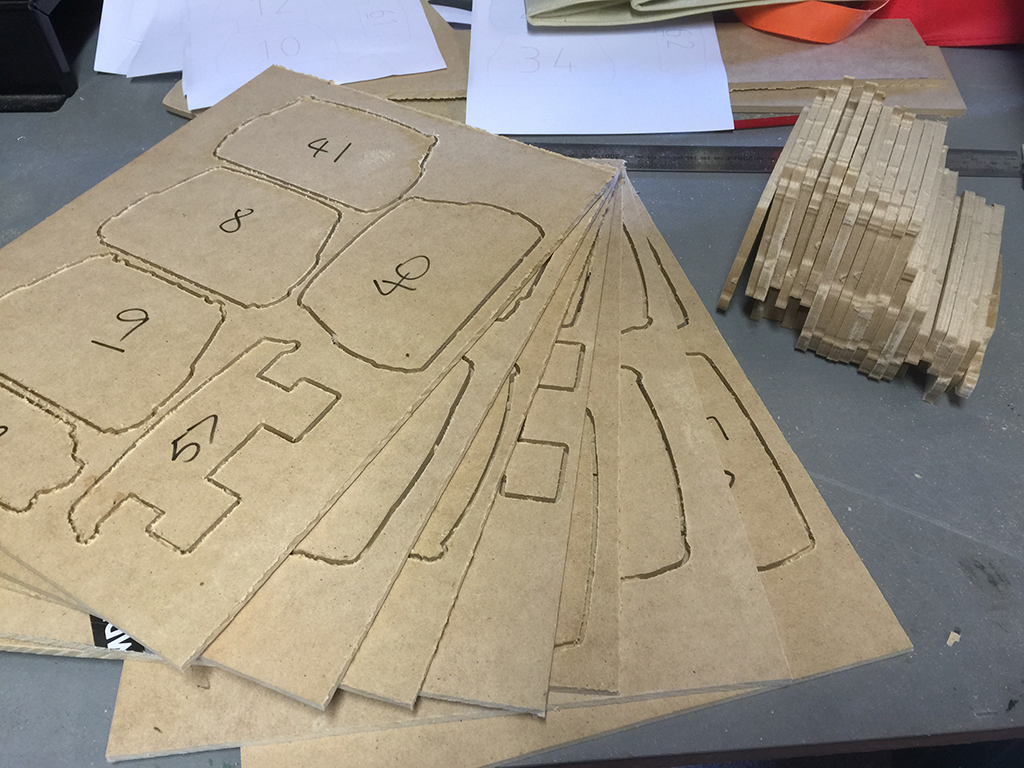
After looking in several alternatives, I was lucky enough to find a free 3D model of a very similar Volvo – the 960 and used that as the basis. I then used Autodesk’s 123Make program to generate 6 mm slices of the car. These slices I tidied up a little and then imported them into Cambam. From here I can make the appropriate g-code and cut them on my cnc machine out of 6 mm MDF.
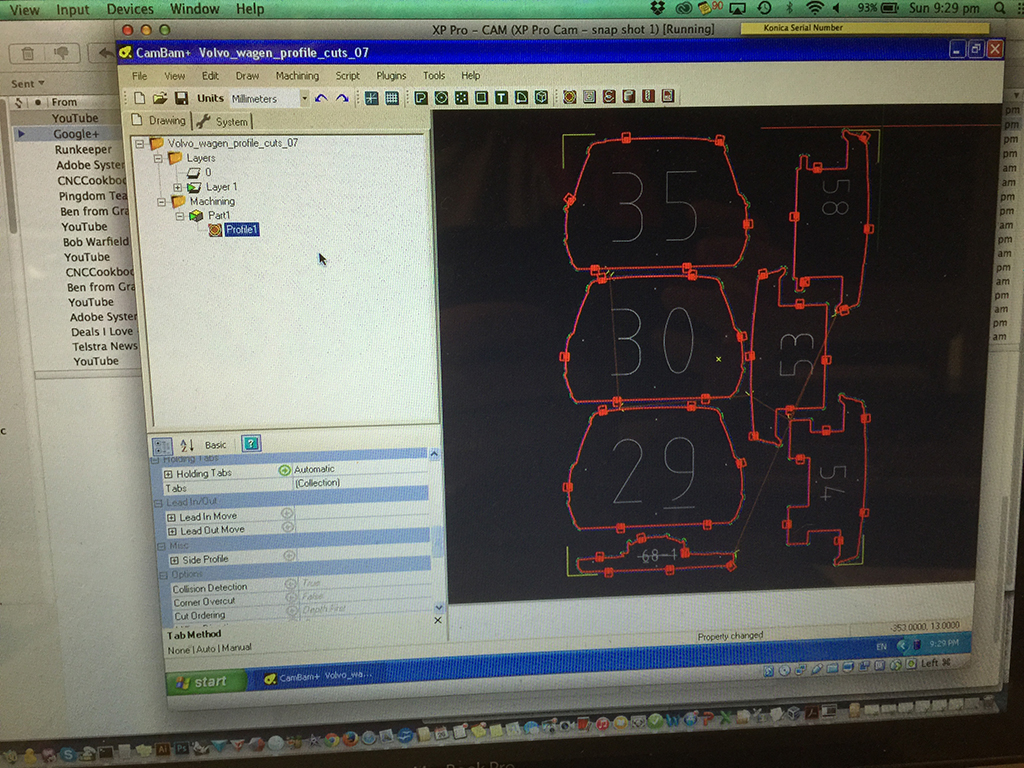
All up there were 68 pieces to cut.
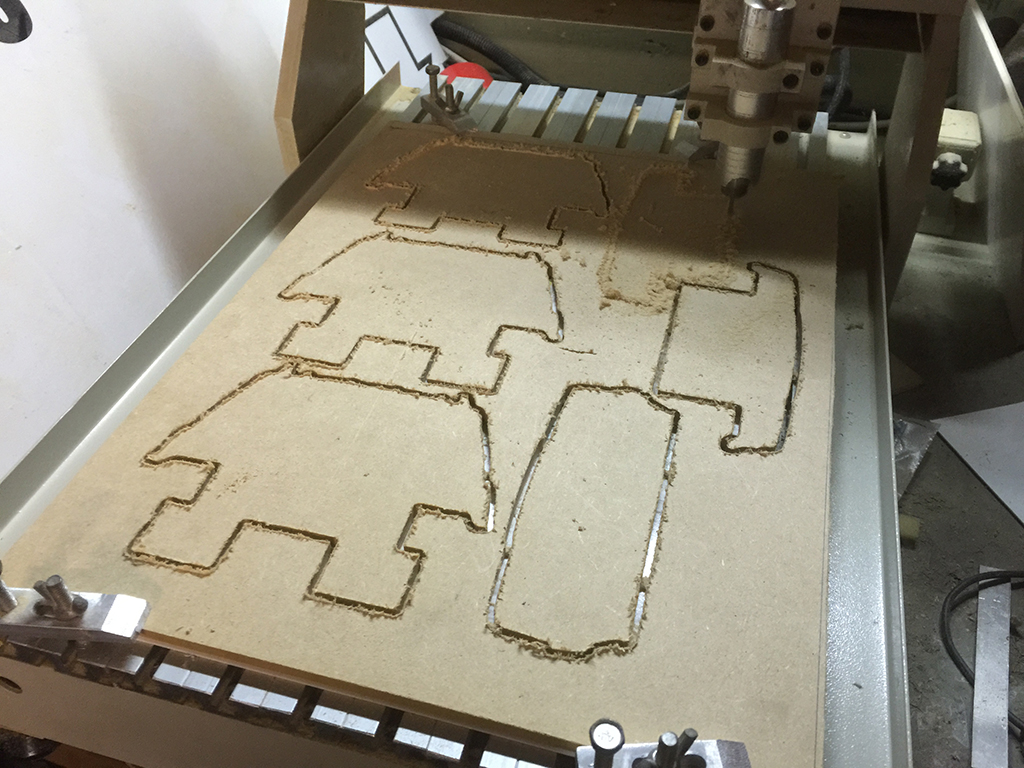
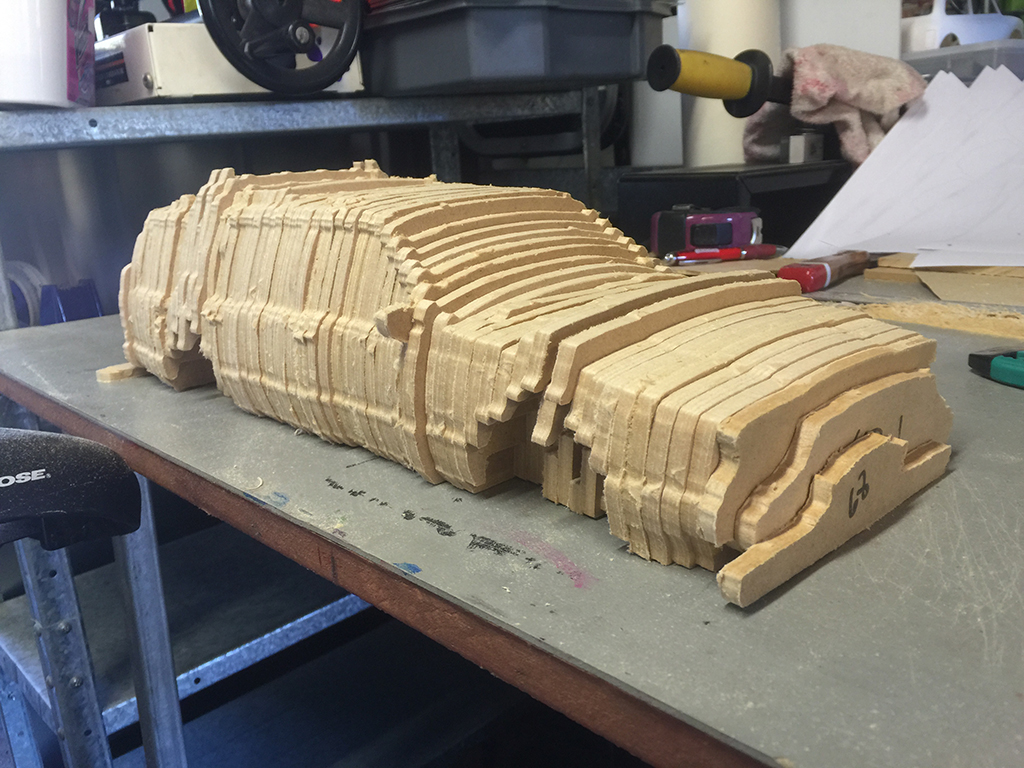
Once cut, I then had to trim out the pieces and put them together.
Here you can see a test fit. Once in position this will give me good base from which to start.
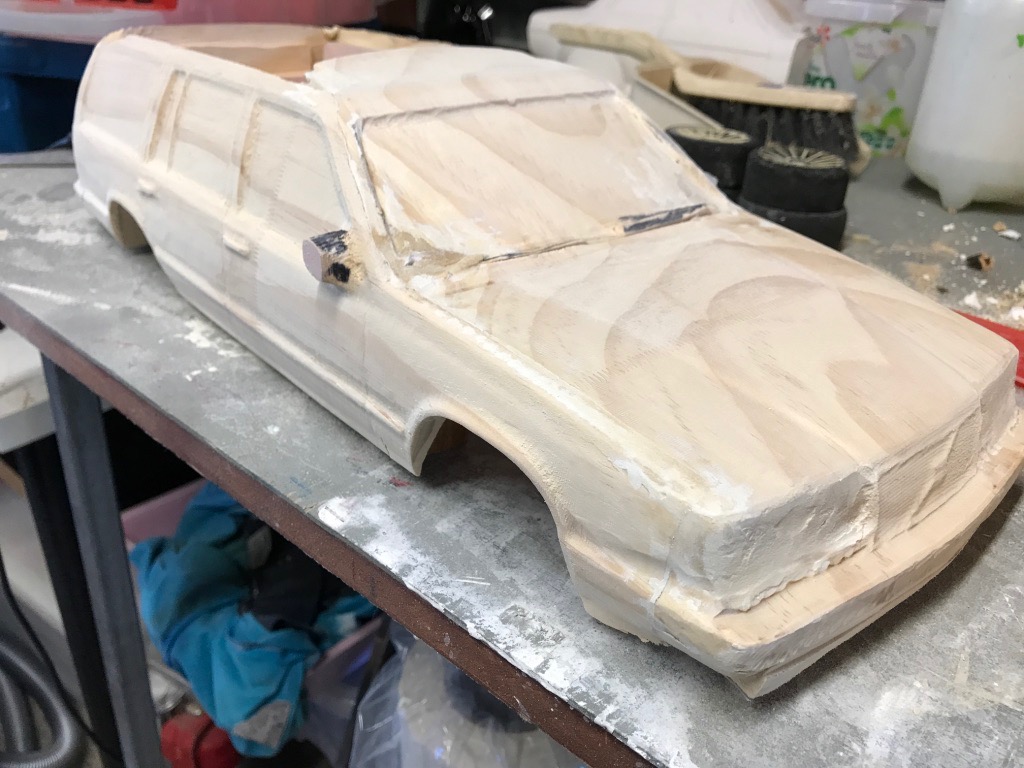
The next step after cleaning up and joining them all together is to cover the whole lot in shellac. This will make the mdf much stronger and also lock down the fibres. Then I can start bogging and sanding to get the final body shape. There will be issues to do with the front and rear bumper. I’d like this to be as accurately as possible, but vac forming won’t allow over hangs as you won’t be able to remove the mold.
So I have them two options, firstly simplify the bumper area, or do what Tamiya have in some cases, and that is make an extra piece that will fit on and give the detail you can’t get from polycarbonate.
Experiments in 3D Machining
After mucking around with trying to make slices that I could then sand back to shape the car, I ended up changing tack and started to earn more about 3D machining.
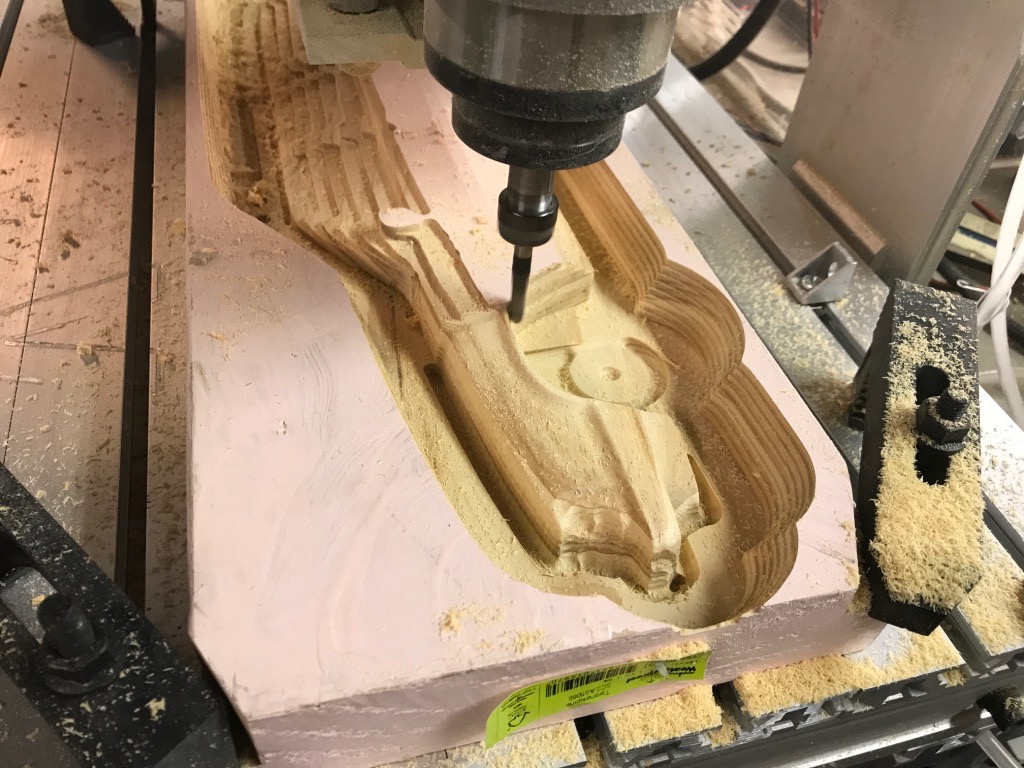
Using CamBam to generate the g-code, here you can see it doing a rough cut of the side of the Volvo. I chose pine this time to machine with.
After the final machining, which took about 5 hours in total to do.

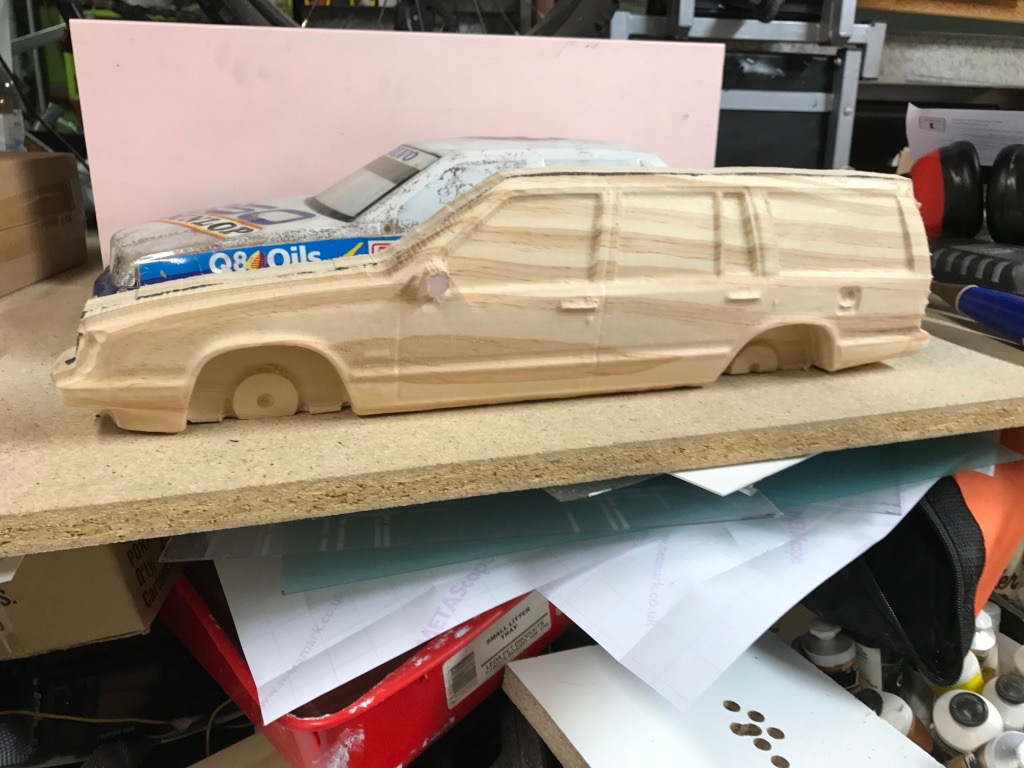
I then proceeded to cut the other sides, rear, and the windscreen and front.
Its then just a matter of putting the pieces together.